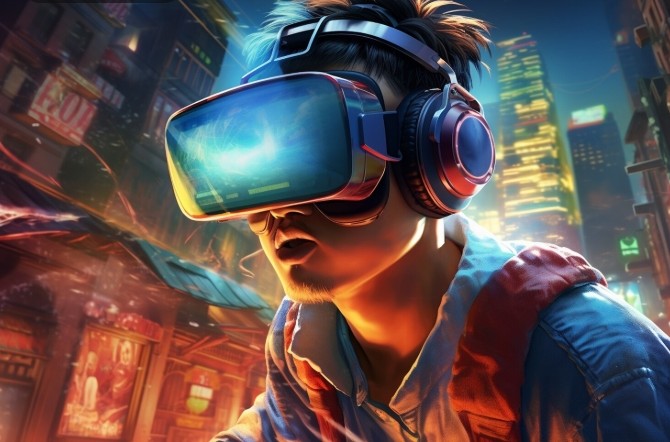
Fortifying your night‑city experience starts with the right graphics stack. The buzz around the Cyberpunk 2077 Path Tracing Build stems from its promise of unprecedented lighting realism and cinematic depth. Whether you’re wielding an RTX 4080 or a futuristic AMD GPU, mastering this build means unlocking the game’s full visual potential before the lights of Night City flicker to life. In the next section we’ll unpack what path tracing actually does in Cyberpunk 2077 and why it matters.
Cyberpunk 2077 Path Tracing Build: What It Means
Path tracing—an unbiased rendering technique—simulates the exact journey of light through a scene, producing highly accurate reflections, caustics, and global illumination. Cyberpunk 2077 Path Tracing Build leverages the NVIDIA RTX architecture’s dedicated ray‑tracing cores, while newer AMD GPUs utilize the RDNA2 architecture’s Ray Accelerators. By integrating the Vulkan API, the game gains lower overhead compared to DirectX 12, which is crucial for handling the many concurrent rays required by path tracing. For a detailed theoretical foundation, the Ray Tracing Wikipedia page offers an in‑depth overview.
Hardware Requirements for Cyberpunk 2077 Path Tracing Build
Executing a true path‑tracing build is no small feat; it demands robust GPU memory, a strong CPU, and plenty of VRAM bandwidth. Below is a practical benchmark list derived from current industry data and community feedback:
- Minimum GPU: NVIDIA GeForce RTX 3080 / AMD Radeon RX 6800 XT or better.
- Recommended GPU: NVIDIA RTX 4080 / AMD Radeon RX 7900 XTX.
- RAM: 32 GB DDR4/DDR5 for optimal frame rates.
- CPU: AMD Ryzen 9 5900X or Intel Core i9‑12900K to keep up with Vulkan’s multithreading.
- Storage: NVMe SSD with >1 TB capacity to accommodate the large texture packs.
These specifications align with the Vulkan API benchmarks and reflect the performance gains achieved through the reduced driver overhead. Users who lean on older GPUs may still experience significant frame drop, especially in crowded neon districts, making hardware investment a worthwhile consideration.
Step‑by‑Step Cyberpunk 2077 Path Tracing Build Configuration
Below is a clear, ordered procedure that will convert your Cyberpunk 2077 Path Tracing Build from a conceptual idea to a fully functional installation. Even seasoned gamers unfamiliar with low‑level APIs will benefit from these steps.
- Enable Experimental Features – Go to the
Settings > Graphics > Experimentalmenu and enable the “Experimental Ray Tracing” toggle. This unlocks the game’s path‑tracing shaders. - Activate Vulkan API – In the game’s base settings, switch from DirectX 12 to Vulkan. This reduces CPU overhead, crucial for the large number of rays launched per frame.
- Adjust Ray Tracing Quality – Set ‘Ray Tracing Quality’ to
Ultra. It activates the full path‑tracing compute pipelines, including radiosity, soft shadows, and reflections. - Turn on Global Illumination – Navigate to
Settings > Graphics > Global Illuminationand switch toPath Tracing. Accept any performance warnings; these will be mitigated by the subsequent steps. - Fine‑tune Sample Count – Reduce the sample count to
64for an initial bake, then increase to256for post‑processing scenes. If the game stalls, dial back to128. - Enable DLSS 3.1 Ultra (Optional) – For NVIDIA users, activate DLSS 3.1 in the graphics settings. DLSS reenables higher sample rates by reconstructing frames, effectively upping fidelity without a huge frame‑rate loss.
- Apply the Official Patch – Ensure you’re on the latest September 2024 patch that improves path‑tracing performance and fixes shader bugs.
- Test Performance – Launch the game to the most lighting‑intense city scene. Use in‑game FPS overlays to monitor the average frame time. Adjust the sample count as needed.
- Save a Quick Texture Dump – In option mode, enable
Dump Texturesfor a quick texture check. Verify the presence of the new path‑trace shaders in the dump to confirm your build is active. - Enjoy & Share – Record a short walkthrough of your final build. Share on your favorite platform with the hashtag
#CyberpunkPathTraceto inspire fellow enthusiasts.
Performance Tweaks for Cyberpunk 2077 Path Tracing Build
Even with top‑tier hardware, path tracing can be resource‑intensive. The following tweaks will help you strike a balance between visual quality and a stable frame rate:
- DLSS 3.1* – This NVIDIA only feature synthesizes video frames to boost FPS. In practice a 1080p 90 FPS experience is common even in high‑contrast scenes.
- Anti‑Aliasing – Switch
MSAAto8×or enableTAAto reduce shimmering. A clean visual post‑process often outweighs a marginal FPS increase. - Texture Quality – Set it to
Highin the Vulkan render settings. 8k textures in studios are the backbone of path tracing’s realism. - VSync Off – Toggle
VSyncoff to remove the 60 Hz ceiling. Combine with a lowPower Curveto maintain system stability. - Ray Tracing Hardware Controls – With Radeon GPUs, enable the cross‑platform optimisations in the AMD Radeon Settings menu. This workflow harnesses the GPU’s dedicated Ray Accelerators.
- Frame Capping – Keep the frame cap at
120 fpsor higher to maintain buttery smoothness. Lower the cap if you notice overheating or driver instability. - Memory Optimisation – Ensure the storage environment is a cold, low‑latency NVMe device. This reduces texture loading stalls during intense dashes.
- Overclock Settings – For seasoned users, a modest GPU overclock (100‑200 MHz) can rescue the last few FPS lost to shader path tracing.
For additional guidance on GPU optimisation, consult the official hardware documentation from NVIDIA’s Ray Tracing Developer Hub and AMD’s Ray Tracing Specs. Those resources provide deeper dives into how each matrix affects performance.
Common Issues & Troubleshooting
Despite meticulous configuration, you might still face interruptions. Below are several frequent pitfalls and how to fix them:
- Freezing or Crashing – Check for conflicting mods. Most path‑tracing issues stem from incompatible texture packs or overlay software (e.g., Discord). Temporarily disabling all third‑party addons can isolate the culprit.
- Artifacting and Incomplete Shaders – If you notice that some materials lack glossy highlights, confirm that the sector VRS scaling is set to
Normaland notUltra. Re‑installing the shaders can also help. - Excessive Heat – When the thermal throttling kicks in, increase ventilation or reduce ray tracing sample count. Alternatively, enable the
Graphics Performance Modein the operating system’s power settings. - Compatability with Reloaded Mods – In some cases, custom NPC mods may interfere with the face‑caching. Temporarily uninstalling them will restore stability.
- Shader Compilation Errors – Keep the game updated. Earlier patches like 0.9.25 can have compile errors that the 2024 update has since fixed.
When all else fails, the official Cyberpunk 2077 forums feature a dedicated path tracing tag. Users frequently share screenshots of the Radeon Ray Tracing log, which can be invaluable when troubleshooting.
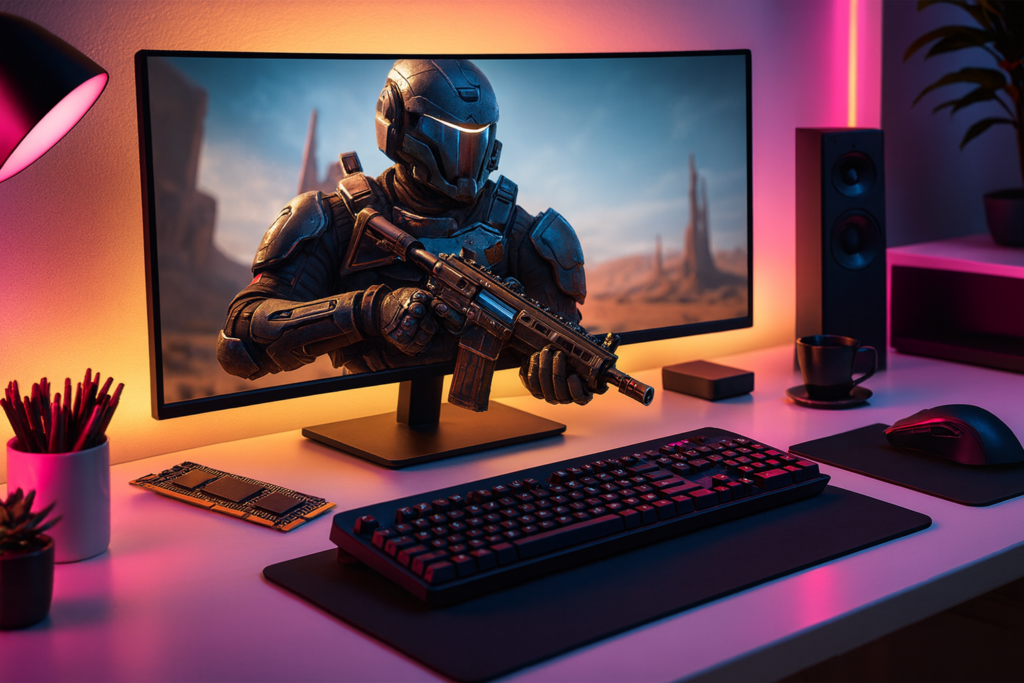
Ready to immerse yourself in the ultra‑realistic glow of Night City? Apply these steps, hit play, and let your weapons reflect true cinematic fidelity. Your Cyberpunk 2077 Path Tracing Build awaits — it’s time to bring the future to your living room.
Frequently Asked Questions
Q1. What is path tracing in Cyberpunk 2077?
Path tracing is a GPU‑driven rendering technique that simulates the real‑world propagation of light. In Cyberpunk 2077 it enables realistic reflections, caustics, and global illumination, creating a more cinematic visual experience. Unlike baked lighting, path tracing adapts to dynamic scenes, so neon glows and water surfaces look truly lifelike. The technology requires powerful GPU hardware and significant compute resources, especially when running in high sample‑count modes.
Q2. Which GPUs support the Cyberpunk 2077 Path Tracing Build?
Support comes from NVIDIA RTX GPUs with dedicated ray‑tracing cores (e.g., RTX 3080, RTX 4080) and from AMD GPUs with RDNA 2 Ray Accelerators (e.g., RX 6800 XT, RX 7900 XTX). Both manufacturers provide a path‑tracing engine in the latest drivers. If you own an older GPU, you won’t be able to enable the experimental path tracing mode. Using a compatible graphics card is mandatory for unlocking these settings.
Q3. How do I activate the path tracing features in the game?
First, enable the Experimental Ray Tracing toggle in Settings > Graphics > Experimental. Then switch the API from DirectX 12 to Vulkan through the launch options to lower driver overhead. In Graphics settings, select the Path Tracing option under Global Illumination, and set the Ray Tracing Quality to Ultra. Adjust sample counts and optionally enable DLSS 3.1 to keep performance stable.
Q4. What performance impact should I expect from enabling path tracing?
Performance drops can be significant, especially on mid‑range cards. The default Ultra setting may halve or more frame rates in neon‑dense locations. Adjusting the sample count down to 64–128 can improve frame rates while retaining visual fidelity. Using DLSS 3.1 or C‑GUI frame control will help recover performance. Testing in various scenes is essential to find a stable balance.
Q5. What are common issues and how can I troubleshoot them?
Frequent problems include game crashes, texture glitches, or overheating. Disable third‑party mods and overlays like Discord to avoid conflicts. Lower sample counts or enable Thermal Guard if the GPU throttles. Keep all drivers and the game patch up to date; earlier firmware may have shader compilation bugs. Official forums and vendor support pages contain detailed logs for advanced diagnosis.